Get Started
The LUCI design system includes a foundation of assets and resources to help teams design and build cohesive NetApp websites and digital products.
The range of resources available for designers and developers include:
- Fonts, icons, color palettes and general design guidelines
- High-quality, production-grade, semantic and accessible component markup
- Cross-browser compatible CSS
Follow these guidelines to begin using the system.
For Designers
The LUCI visual language is the foundation for the overall look and feel of NetApp web sites and digital products. It includes specifications on color, iconography, typography and spacing.
Familiarize yourself with these critical elements as a first step.
Resources
-
Sketch App Library
The LUCI library sketch file contains design elements and symbols such as color palette values, buttons, form elements, icons, etc.
A library is just an ordinary sketch document that contains symbols that you can use in any other sketch document. If any of those library symbols are updated in the master library file, documents containing instances of those symbols will display a notification telling you that they can be updated.
How to Use a Sketch App Library File
To add the LUCI library file to your working sketch design or wireframe file, download the LUCI library to the folder where you keep your sketch document and then follow the instructions outlined in Migrating existing Sketch projects to Libraries.
Note: You should not make edits to the library file symbols directly, but should instead edit the symbols exclusively in your project document. You can do this by detaching symbols from the library or importing them as local symbols.
-
Fonts
Download a full set of Source Sans Pro fonts to use in your preferred design application.
-
Icons
The zip file contains SVG and PNG formats of the LUCI icon set.
Need something else? Contact the LUCI team to make a request.
For Developers
We recommend the following steps to start developing with LUCI:
- Get an overview of our coding standards, including the class naming conventions used in our CSS.
- Review the components for semantically correct and accessible markup and documentation.
- Follow the development-environment—specific getting-started steps below.
Setting up LUCI with Compiled Assets
The LUCI zip file contains the compiled CSS and SVG sprite for the icons. Once you have downloaded it, you can link to the CSS from your index.html page and use SVG icons in your components.
<!DOCTYPE html>
<html>
  <head>
    <meta charset="utf-8">
    <title>LUCI Demo</title>
    <link rel="stylesheet" href="/styles/luci.css">
    <link rel="stylesheet" href="//fonts.googleapis.com/css?family=Source+Sans+Pro:300,400,600,700">
    <!-- Include this script to use SVG Sprite in IE -->
    <script src="/your/path/to/svg4everybody.min.js" charset="utf-8"></script>
    <script type="text/javascript">
      svg4everybody();
    </script>
  </head>
  <body>
    <h1>Welcome to LUCI</h1>
  </body>
</html>
Setting up LUCI With npm
The following steps will prepare you to work with LUCI in a local Node.js development environment.
We will assume you have knowledge of the following:
Initialize your project.
a. Once you've dowloaded and installed the prerequisites for your node environment, create a folder for your project.
  $ mkdir luci-demo
  $ cd luci-demo
b. Inside your
luci-demo, folder create a package.json file with defaults set.$ npm init --yes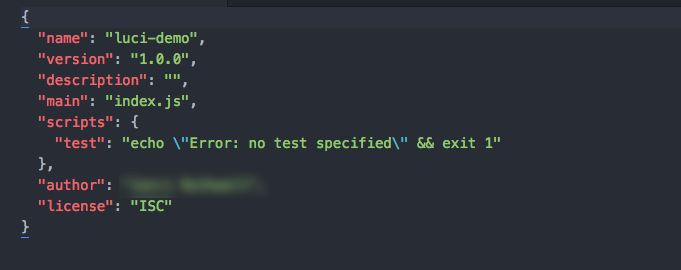 Figure: Example package.json file
Install the following npm packages as dependencies:
a. LUCI
$ npm install --save @netapp/lucib. Browsersync will allow you to run a local server and see your changes in your favorite web browser.
$ npm install --save-dev browsersync Figure: Updated package.json file
Add LUCI to your project by linking to the compiled LUCI stylesheet in your
index.htmlfile.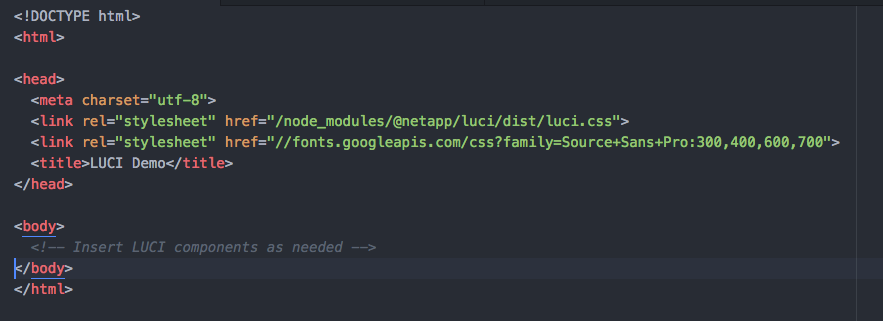 Figure: Index file with link to LUCI stylesheet
Copy and paste the basic form code example into your
index.htmlfile.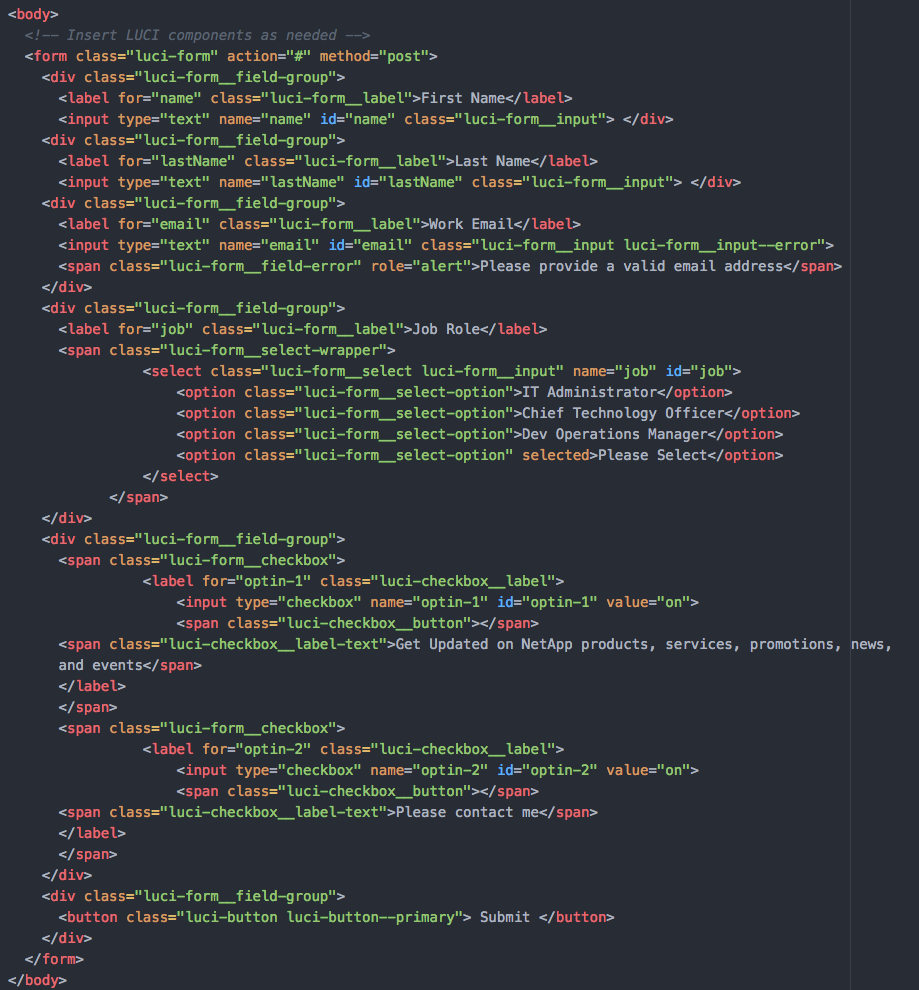 Figure: Index file with LUCI form
Execute the following command to start a local web server:
$ browser-sync start --server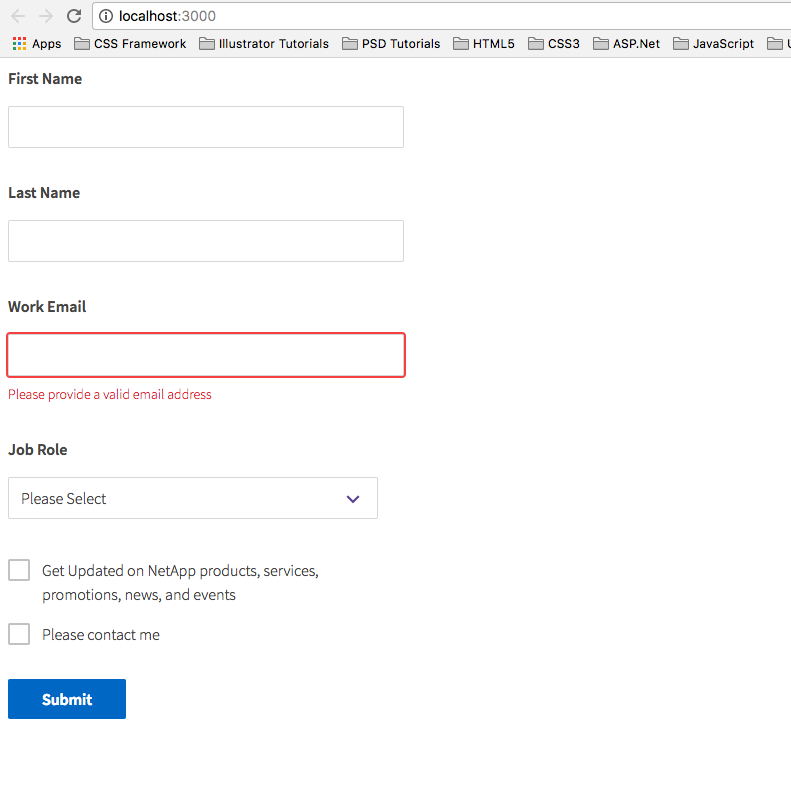 Figure: LUCI web page with basic form
Setting up LUCI With Sass
In order to take advantage of some of the LUCI Sass features such as tokens and mixins, you will need to set up your project to use Sass. Because Sass is a preprocessor for CSS, you will need to install additional tools to compile Sass to CSS.
We recommend the following:
We will assume you completed the steps to set up LUCI with npm.
npm install Gulp and gulp-sass.
$ npm install --save-dev gulp gulp-sass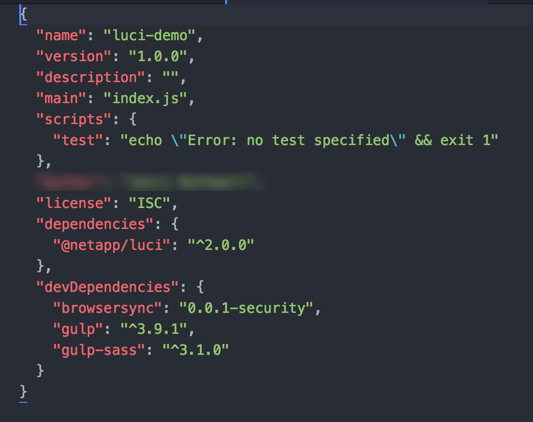 Figure: Updated package.json
Create a
gulpfile.jsfile in the root folder of your project and copy and paste the following code:const gulp = require('gulp'); const sass = require('gulp-sass'); gulp.task('sass', function() { return gulp.src('./styles/*.scss') .pipe(sass()) .pipe(gulp.dest('./dist/css')); });Create a scss stylesheet.
a. In the
luci-demoproject, create a new styles folder.b. In the styles folder, create a
master.scssfile, for example.c. Import the LUCI token and typography partials at the top of your
master.scssfile. Figure: Imported LUCI partials
Reset the body text to match LUCI styles.
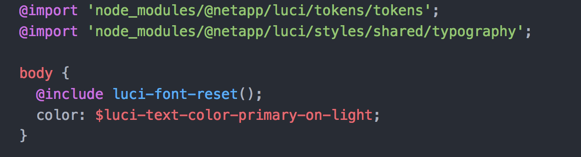 Figure: Font reset example
Add an
h1to your stylesheet and use the LUCI mixin to style theh1.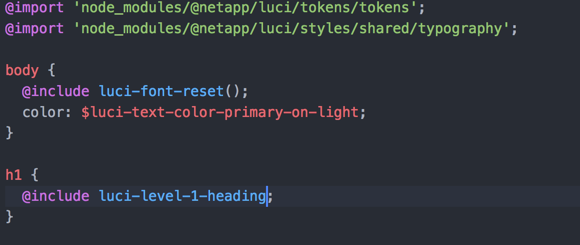 Figure: Heading mixin
Update your index.html file to the following:
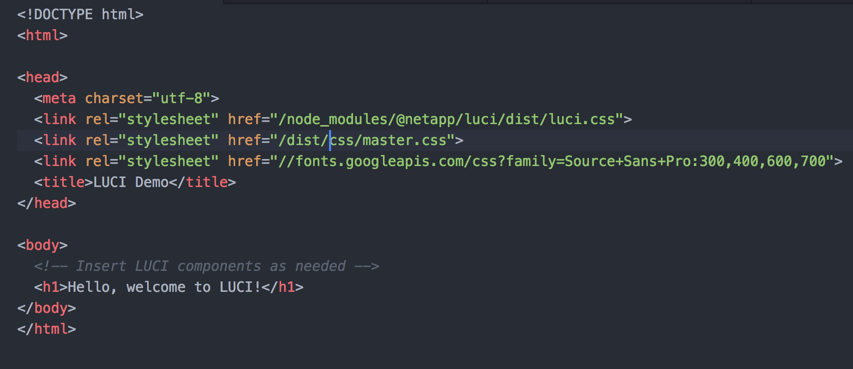 Figure: Updated index.html
Compile your stylesheet and view your changes in the browser.
 $ gulp sass
 $ browser-sync start --server
Figure: Hello LUCI page
Review How to design with tokens for additional information about how to use tokens with existing HTML.
For Product Managers
Want to use LUCI on your existing or new product? Fantastic!
The first step is to Contact the LUCI team to let them know you’d like to start adopting the system and prepare any initial questions you have. Someone from the team will be in touch (within 2-3 business days) to discuss your needs.
Some initial questions to think about in anticipation of the discussion include:
- Will you be adopting the production-grade code that’s provided with LUCI, or simply the visual styles?
- What’s the timing for adopting LUCI? Do you plan to adopt incrementally over the course of several releases, or all at once?
Additionally, have your design and/or development teams review this website and prepare their own questions about the LUCI system.
It’s also important to know that LUCI will not contain every component asset or function that your website or digital product may need. That’s not a problem. LUCI is intended to serve as a front-end foundation/baseline for websites and digital products to use and extend as needed.
That said, if there is a component or asset that your product needs and other products that use LUCI would benefit from, it’s a candidate to be added into the system in a subsequent release. You can see what’s planned for LUCI at any time or Contact the LUCI team to make a request.